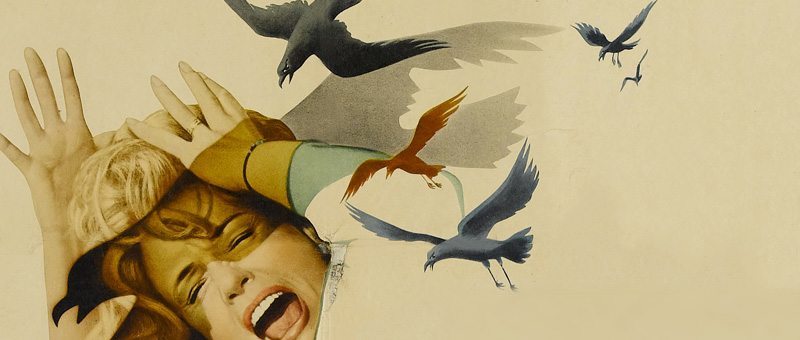
Birds can be the scourge of a timelapser’s workflow. I often see high-end timelapse clips with birds flicking in-and-out of shot. Personally, I can’t deal with seeing this so will always go through the painstaking process of eliminating the feathery squawkers from my work.
Aside from the main goal of a perfect visual aesthetic quality, it’s a actually quite a satisfying process but does require time and patience.
Can’t I prevent these problems while shooting?
Yes and no. Aside from bringing a shotgun along to a shoot, dragging the shutter can often prevent the birds from being captured, albeit the occasional smudge will show depending on the distance between the camera and avian in question.
However, using longer shutter speeds is not always possible, for example when shooting (shutter ramped / bramped) sunsets where light is lower and an ND filter can’t be used. In instances like these, you will inevitably capture some crisp dinosaur descendants in your sequence.
Removing the birds (de-birding)
The first port of call in the quest for perfect bird-less timelapse sequences is to use the spot removal (heal and clone) tool in Lightroom. Laboriously healing a sequence frame-by-frame can work very well, wherever the background is uniform, but there will always be birds that are just impossible to remove, over clouds and complicated backgrounds for example.
So, I’ll always do what I can in Lightroom first and then move over to After Effects for some further bird removal processing.
Nb. While in Lightroom, I will make a note of the frame numbers of any birds which require further work. This helps me to quickly locate the affected frame in After Effects. You can CMD-click the time indicator in AE to switch to show frames and enter a specific frame number.
After Effects Frame Cloning
Use this recipe which essentially clones / masks a portion of the previous frame to seamlessly remove the birds. This technique can also be used to remove other undesirable things from a frame too, for example I’ve used it to remove unwanted humans from sequences. There’s a brief video demo of the technique in action below.
Go forth and enjoy perfection in your clips : )
- Find / go to frame containing a bird
- Duplicate the main sequence layer – name as ‘Mask Layer 1’ etc.
- Zoom-out the timeline
- Drag the duplicated layer back 1 frame
- Zoom-in the timeline to see the frame in more detail
- Cut the frame ( alt + [ )
- Step forward one frame ( page down )
- Cut the frame again ( alt + ] )
- Step back one frame ( page up )
- Cut the frame a final time ( alt + ] )
- Hide ‘Mask Layer 1’ ( click the eyeball icon )
- Draw a circle mask onto the hidden ‘Mask Layer 1’
- Toggle the eye on / off to ensure the mask covers the bird
- Toggle the ‘Mask and Shape Visibility’ icon to see clearly view the masked area
- Highlight ‘Mask Layer 1’ and nudge the mask back once to compensate the frame movement ( back arrow key )
- Rinse and repeat for all affected frames.
SUBSCRIBE FOR FRESH CONTENT
Follow me on social media for updates.
